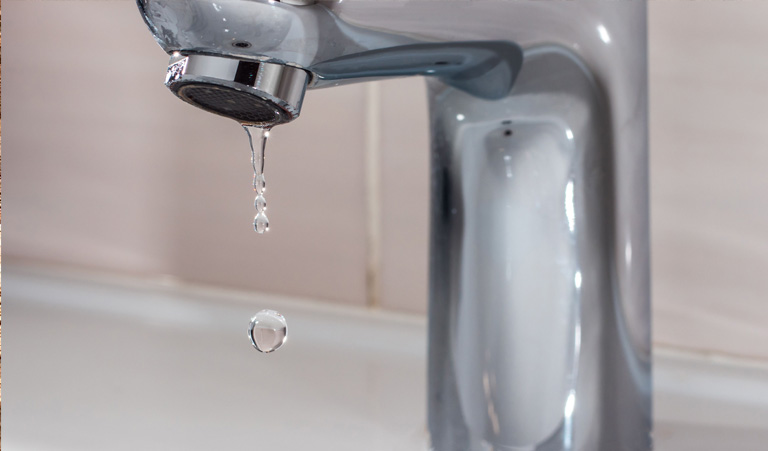
The Aggravations of a Leaky Faucet
Though you probably don’t have your head stuck underneath it, the relentless plopping sound of a leaky faucet can quickly make you understand why the Chinese water torture was supposed to be so excruciating, and the thought of the wasted money when you pay your water bill only makes the annoyance worse.
Fortunately, it’s generally not difficult or expensive to fix a leaky faucet. There’s a good chance you can manage it yourself even if you’re not the handiest of homeowners. If you’re game to try leaky faucet repair, following the following steps:

Leaky Faucet Repair Step #1: Cut off the Water
You can’t fix a dripping faucet when there’s water inside it or more water can flow up into it. To prevent that, take the following steps:
- Turn the shut-off valve or valves under the sink. (If there aren’t any or you can’t find them, you can shut off the flow of water into the entire house.)
- Run the leaky faucet until all the water left in the line is gone.
Dripping Faucet Repair Step #2: Take off the Handle
How the handle comes off depends on the type of faucet.
- If the handle has a top screw cover, pry it off with a flathead screwdriver. Then loosen the screw underneath with a Phillips screwdriver.
- If there’s a set screw behind the handle, remove it with an Allen wrench or hex key.
- When the screws are out, you can remove the handle.
Though it’s not an essential part of the process, it’s a good idea to have the sink stopper in or a towel covering the drain to make sure no parts or tools fall down it as you work.
Leaky Faucet Repair Step #3: Remove the Cartridge
- Use a crescent wrench to loosen the packing nut in the handle assembly.
- Remove the cartridge. It will pull straight up out of the assembly. Be sure to do this gently. (Note: Depending on the make and manufacturer, you may conceivably need a specialized tool to pull the cartridge. If you do, the manufacturer’s instructions will let you know.)
Dripping Faucet Repair Step #4: Put in a New Cartridge
- Using a cloth, make sure all parts and the area around the faucet are dry and clean.
- Check the C-rings around the housing. If they’re damaged or worn out, you should replace them with new ones.
- Insert the new cartridge and be sure it’s aligned properly. (To avoid a frustrating discovery at this point in your dripping faucet repair, make certain you have the cartridge you need as there are many varieties. The manufacturer’s name and the faucet’s model number will steer you to the replacement you need, If you have any doubts at all, take the old cartridge to the store with you to match it precisely.)

Leaky Faucet Repair Step #5: Put the Handle Back On
- Put the packing nut back on and tighten it with your crescent wrench. Just be careful not to tighten it down so hard you cause damage.
- Put the handle back on with the set screw.
- If there was a screw cover, put that back on.
- Turn the water on again, take the towel or any other extraneous objects out of the sink, and test the faucet. Run both cold and hot water through it for a few minutes to make sure the aerator isn’t clogged. (The aerator’s the piece that screws onto the end of the spout. You can remove and clean it easily if there’s a buildup inside it that interferes with good continuous water flow.)
Dripping Faucet Repair Step #6: If the Faucet’s Still Leaking
The repair process outlined above will eliminate most leaky faucet problems. But if you follow it and are still experiencing difficulties, it may be time to call in a professional. A trained technician will soon rid you of that maddening drip-drip-drip
